| << Back | Dynamics | Next >> |
- A diagram showing the chosen body by itself, “free” from its surroundings, with vectors drawn to show the magnitudes and directions of all forces applied to the body, by the various other bodies that interact with it.
- This is essential to help identify relevant forces in many problems in mechanics.
- Include all forces acting on the body but NOT to include any forces that the body exerts on any other body.
- A force only exists if you can answer the question “What body exerts this force?”
| Note |
|---|
| Get into the habit of drawing a free-body diagram to help you analyse the forces involved in a question, even if this is not asked in the question. |
| Example |
|---|
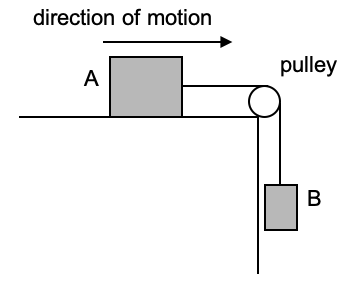
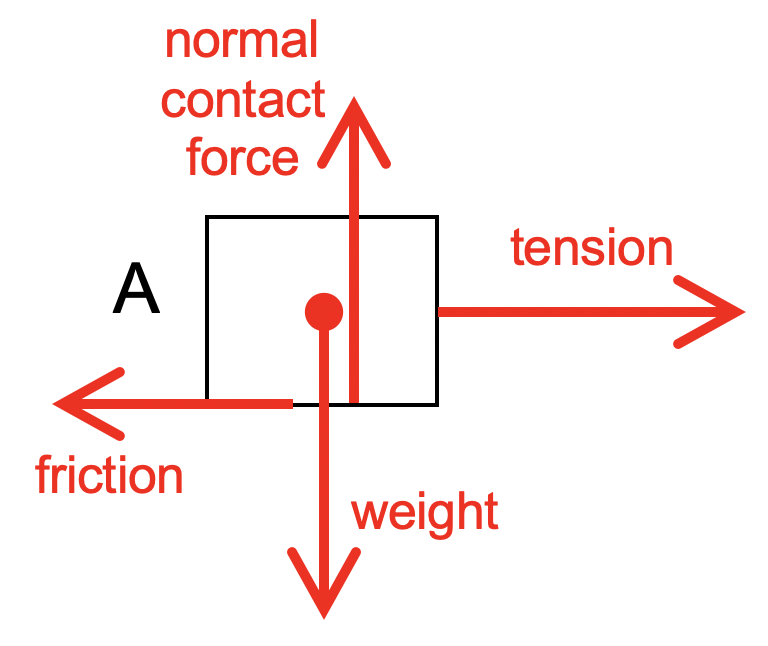
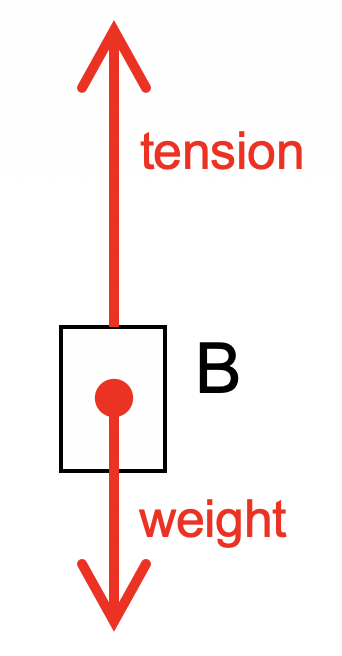
| Draw free-body diagrams for each of the blocks, clearly labelling the forces on each block. Assume the pulley is frictionless.
|
Magnitude: The length of the arrows representing the known forces MUST be drawn in the correct relative proportion
Direction: The known angles in the diagram MUST be drawn accurately and labelled. Unknown angles MUST also be drawn with good estimation.
| Note |
|---|
| Do not shorten force names eg F, NCF, T, etc unless given this in the equation or defined by you. |
| More Challenging Examples of Free Body Diagrams (understanding of Newton’s Laws is helpful) |
| << Back | Dynamics | Next >> |